pocketknife build guide
How to build a pocketknife
Version: v0.4 Date: 05 March 2023
Version v0.4 is still beta. Some things might not be as expected. I try to describe every deviation, but please give me feedback, if you miss something.
You might got v0.3 boards from me. Don't worry there are only differences on the silcscreen (the white pring) and I will mention them in this guide.
Introduction
This guide will lead you through the pocketknife build.
I assumes that you are building a “Full DIY Kit”. If you only have the “PCBs & Panel” pack and sourced the components yourself, stuff may look different. But, if you suck to the bill of materials (BOM), everything should work.
pocketknife is designed to easy to build. It is a good choice for a fist diy kit.
And yet, it is important to solder everything properly. If you never soldered before, you should the Adafruit Guide To Excellent Soldering and/or watch Alpenglow Industries - How To Solder video. Both give very good introductions.
If possible try out your new skills on something you might not be to sad about ruining.
You should read this guide first and then really follow it. I tried different approaches to build pocketknives and I think, the one in this document is a good one.
Tools`n stuff
There are some thing you will need to build your pocketknife:

- A soldering iron for electronics
- A pair of snipe-nose pliers to snipp of the long legs after soldering components
- Solder - I user 0,7mm diameter
Solder should be lead free. There are always some dudes (it’s always dudes) who will tell you that soldering with lead is THE! WAY! But, lead ist toxic for you and for the environment. So, nä.
Then there are some really helpful nice to haves:
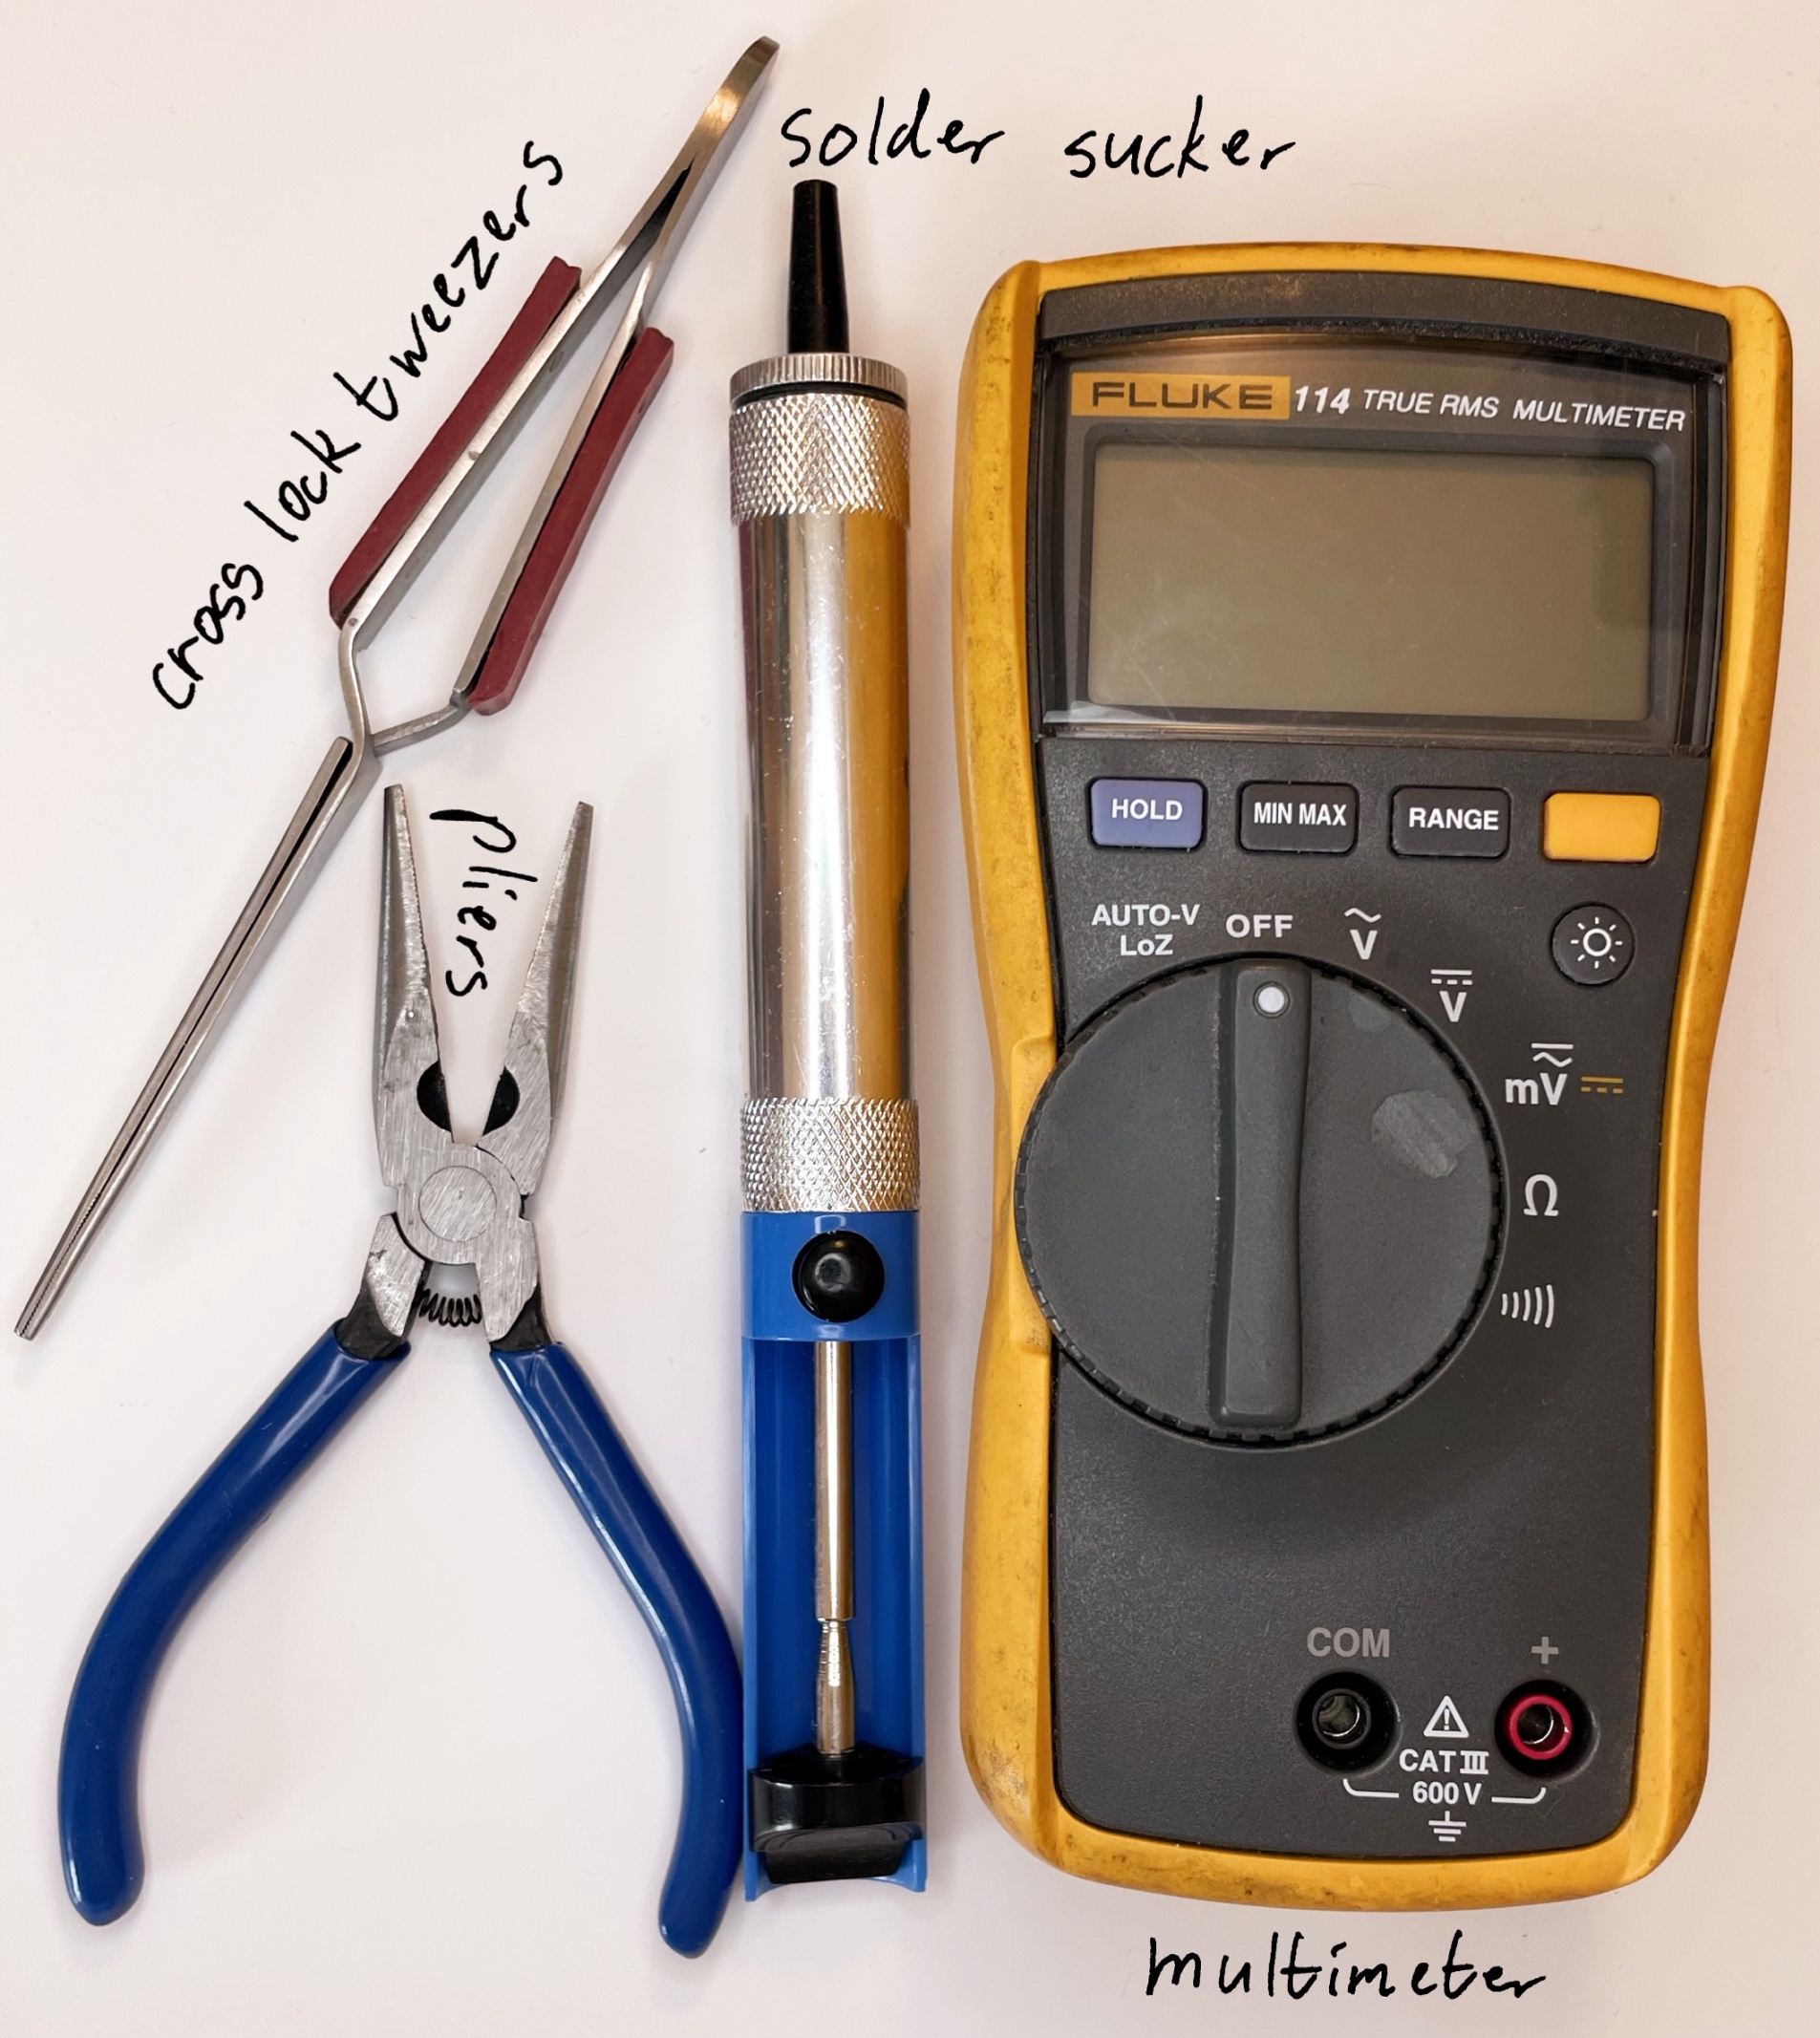
- Cross lock tweezers to clamp stuff together (I use it for instance when soldering pin headers)
- Pliers - always a good thing to have
- A solder sucker for when you made a mistake
- The multimeter is maybe the most important tool in troubleshooting. Also it comes in pretty handy when you are not shure, if the resistor you are holding really is a 100k one.
Not on the image but not less useful:
- A heat resistent and grippy underlay
- Desoldering wick
- Something that helps you holding your work in place, like a PCB clamp holder, a helping hand or even tape
Build instructions
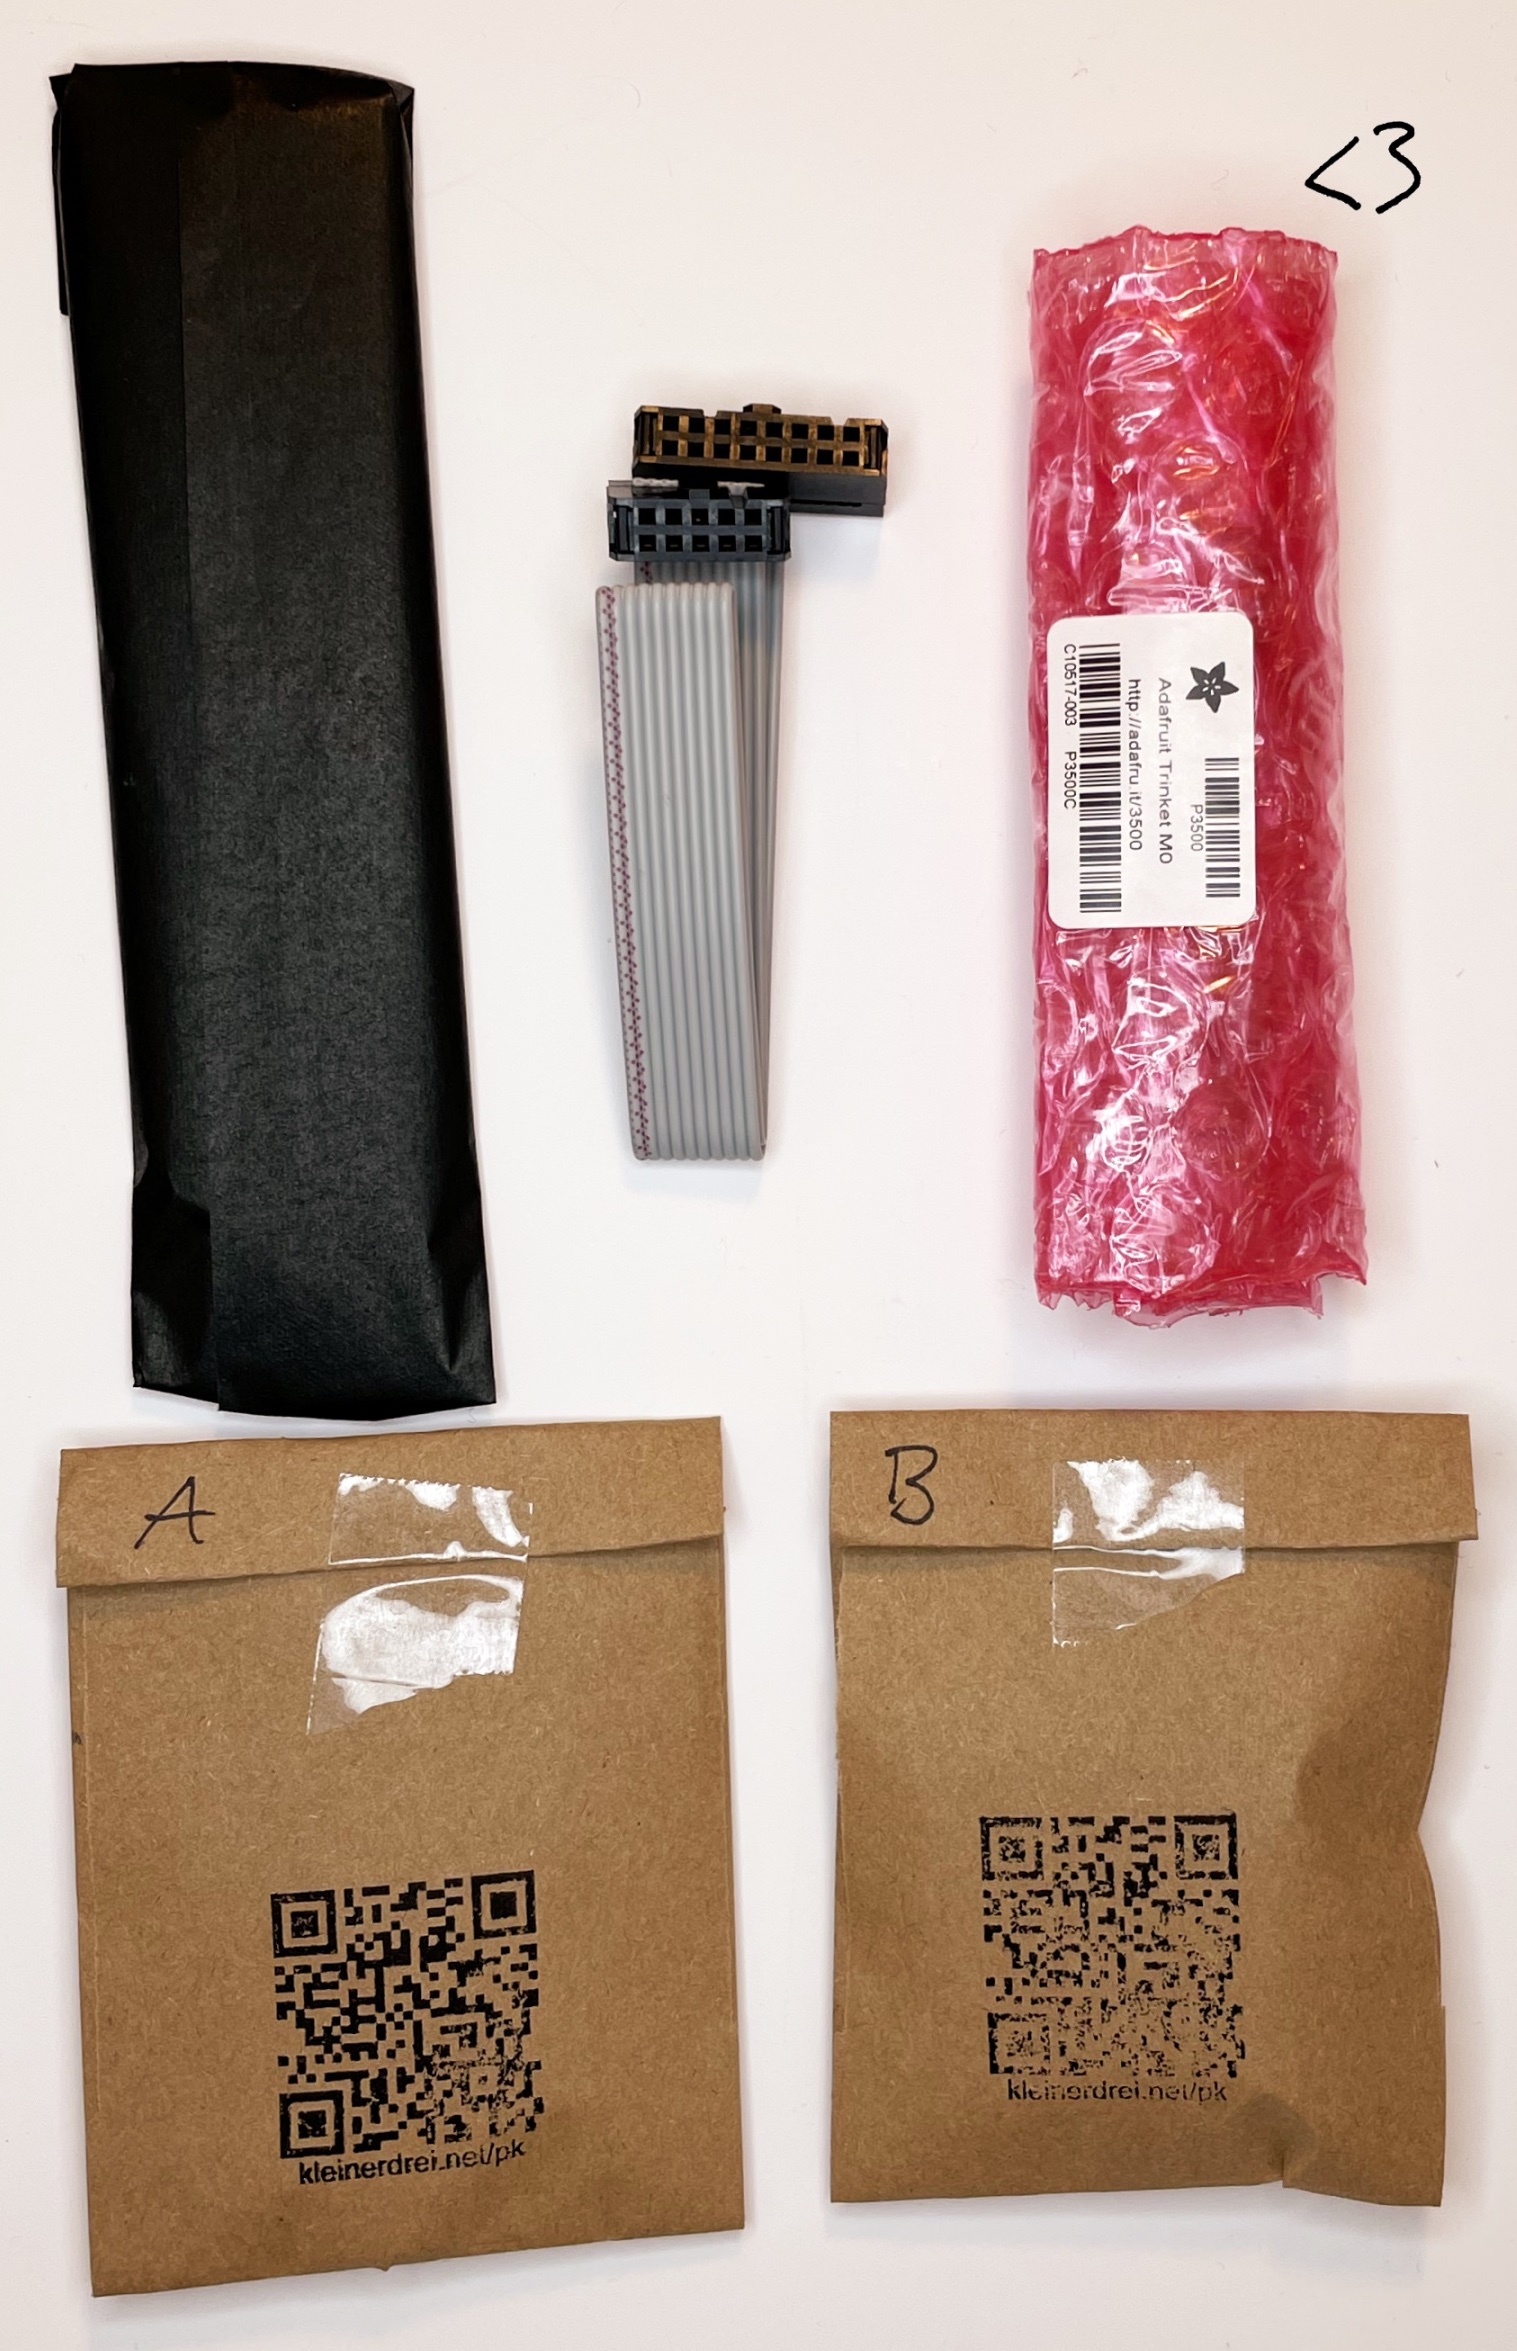
When you open up your pocketknife Full DIY Kit, you will find a ribbon cable and four packages. Don’t unpack them all right now, this will only bring chaos.
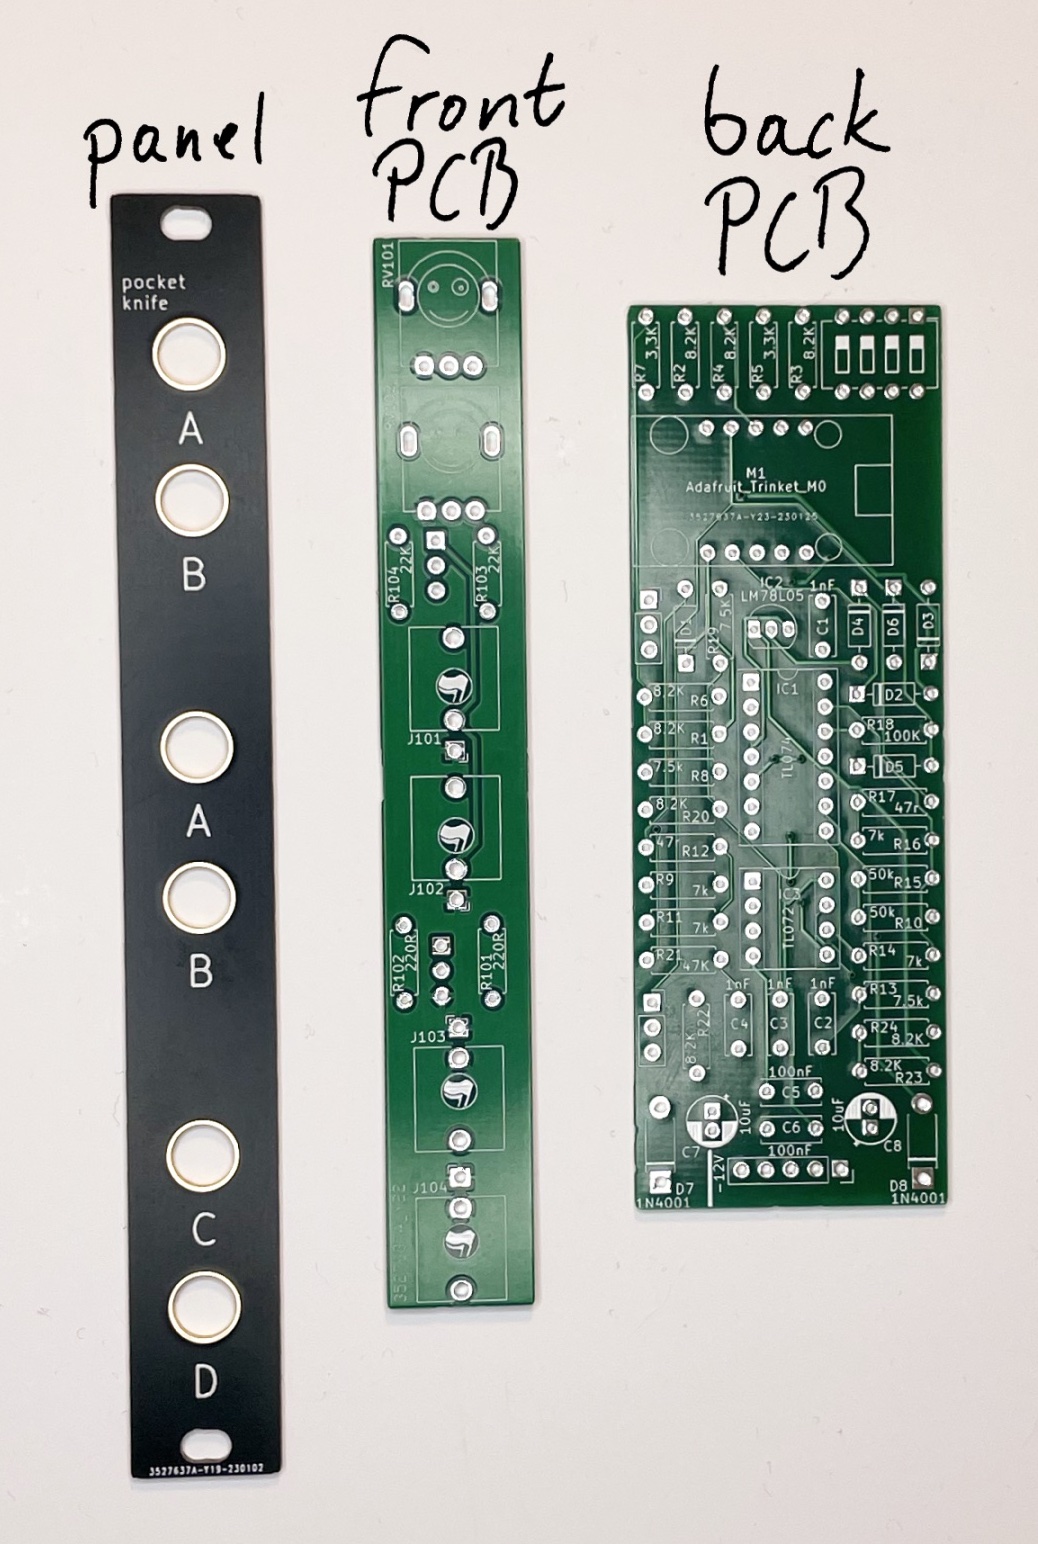
Content of the black package
You can put the ribbon cable aside. It is not needed until the module is done.
Unpack the black package. It contains the black front panel and the two red (beta: green) printed circuit boards (PCB). You don’t need the front panel right now. You can put it to the ribbon cable.
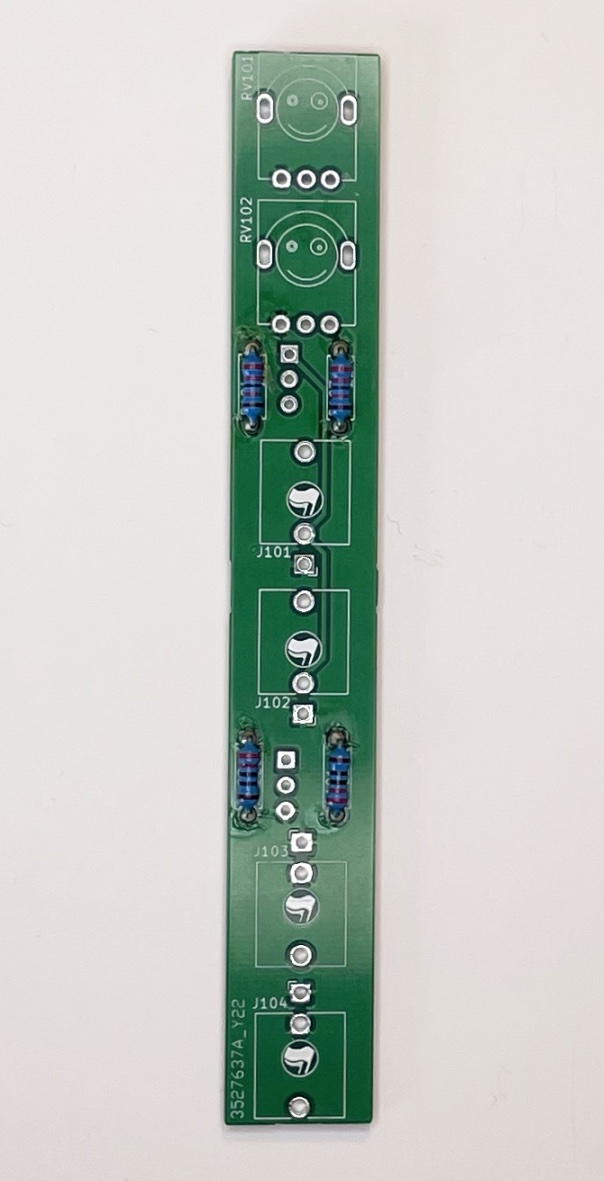
The circuit boards though are needed. Put the front PCB (the narrow one) in front of you.
Package A
Now open the little brown paper bag marked with an A and empty it into a small bowl or something like this. This way you will not lose something and it is much easier to handle those tiny thingies.
The bag contains a lot of components that look very much alike. It has all the resistors (those small blue sausages with the colored rings around), diodes (blue and black cylinders with one black or silver ring around one end) and capacitors (they have both wires pointing to more or less the same direction).
It is possible to read the values of resistors from the colored rings. A rather stupid system, if you ask me. At least, if you are having trouble differentiating colors. I wrote the corresponding values on the paper stripes, that are holding the resistors, for you.
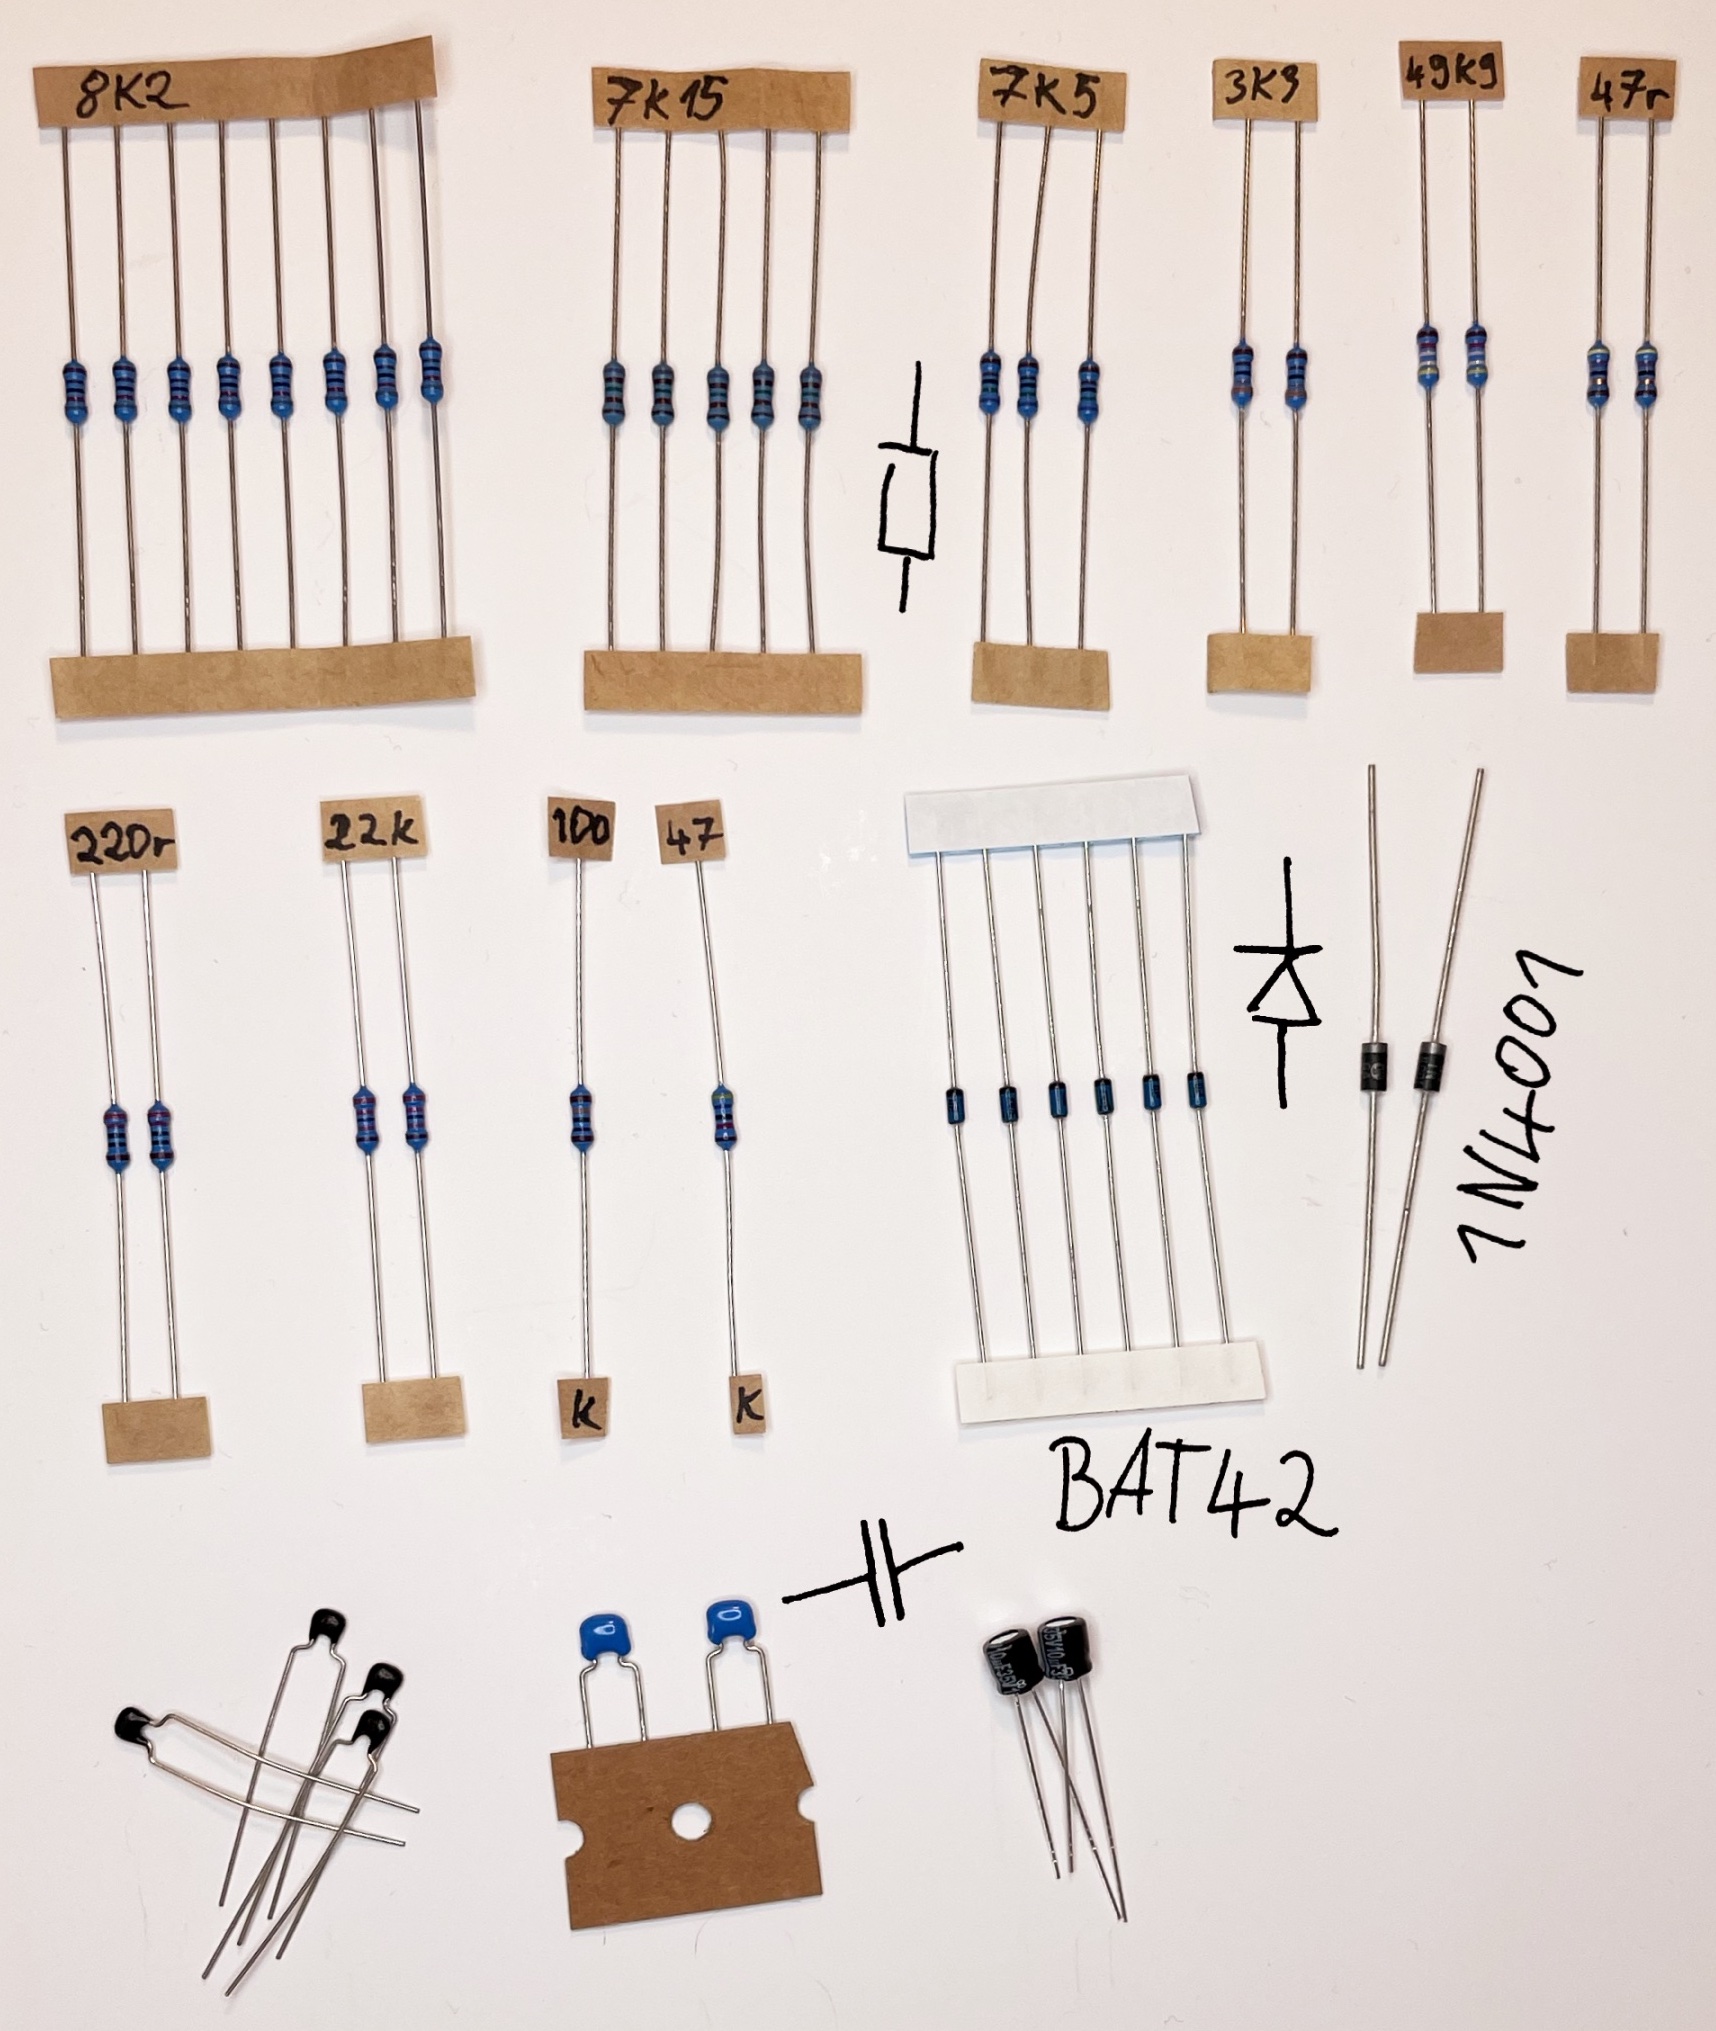
Package A contains
- 8 x 8k2 resistors (8.2 kOhm)
- 5 x 7k15 resistors (7.15 kOhm)
- 3 x 7k5 resistors (7.5 kOhm)
- 2 x 3k3 resistors (3.3 kOhm)
- 2 x 49k9 resistors (49.9 kOhm)
- 2 x 47r resistors (47 Ohm)
- 2 x 220r resistors (220 Ohm)
- 2 x 22k resistors (22 kOhm)
- 1 x 100k resistors (100 kOhm)
-
1 x 47k resistor (47 kOhm)
- 6 x BAT42 diodes
-
2 x 1N4001 diodes
- 4 x 1 nF capacitors
- 2 x 1 00nF capacitors
- 2 x 10 uF capacitors
- R1 is 8k2 not 7k
- On the PCB are some more 7k resistors. Those are 7k15
- R10 and R15 are 49k9 not 50k.
Take the two 220r and the two 22k resistors and solder them to the front PCB.
When it’s done, you can putt the front PCB aside for now.
If you are having trouble finding where to put which component: use the iBOM. It shows exaclty where to pot the components you are hovering over whith your mouse.
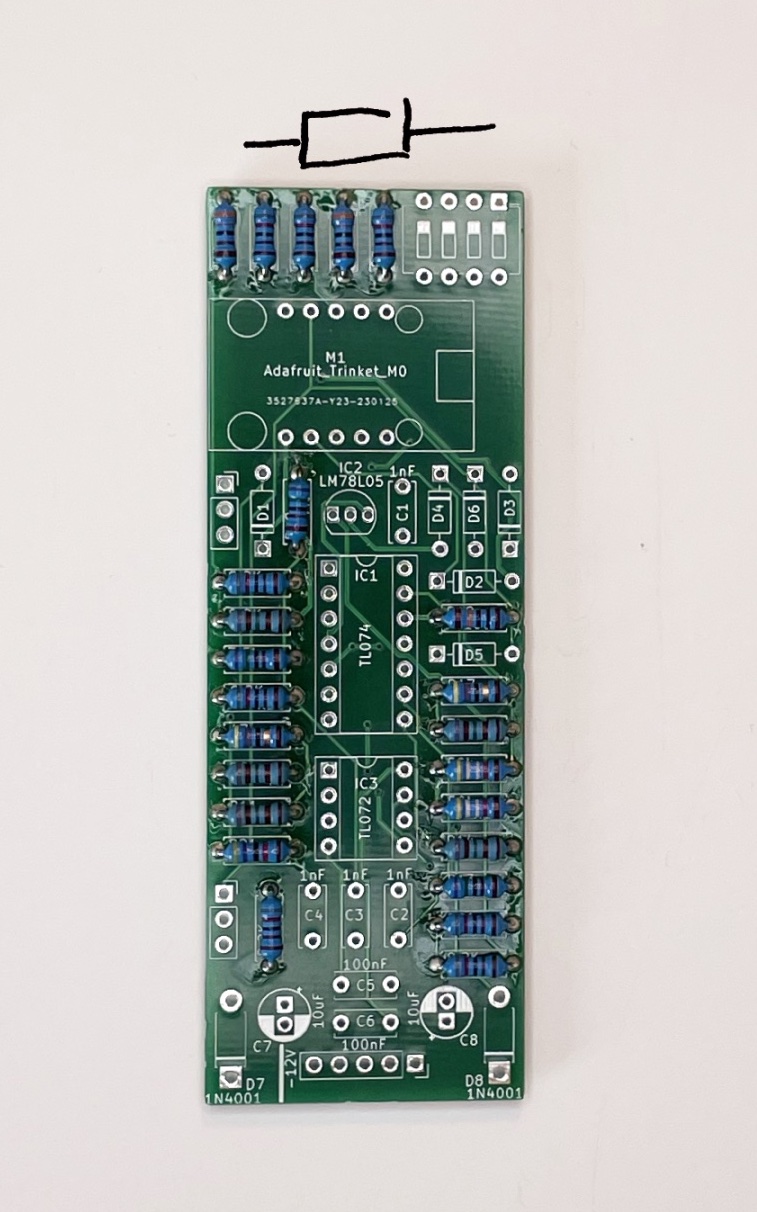
Solder the rest of the resistors to the back PCB.
Next solder all diodes (6 x BAT42 and 2 x 1N4001) to the back PCB.
Super important: Polarity is crucial for diodes. Around one end of every diode is a line (black on BAT42 and silver 1N4001). Align this line with the line printed on the PCB silkscreen. If a diode is placed the wrong way around, your pocketknife will not work like expected. So be super careful!
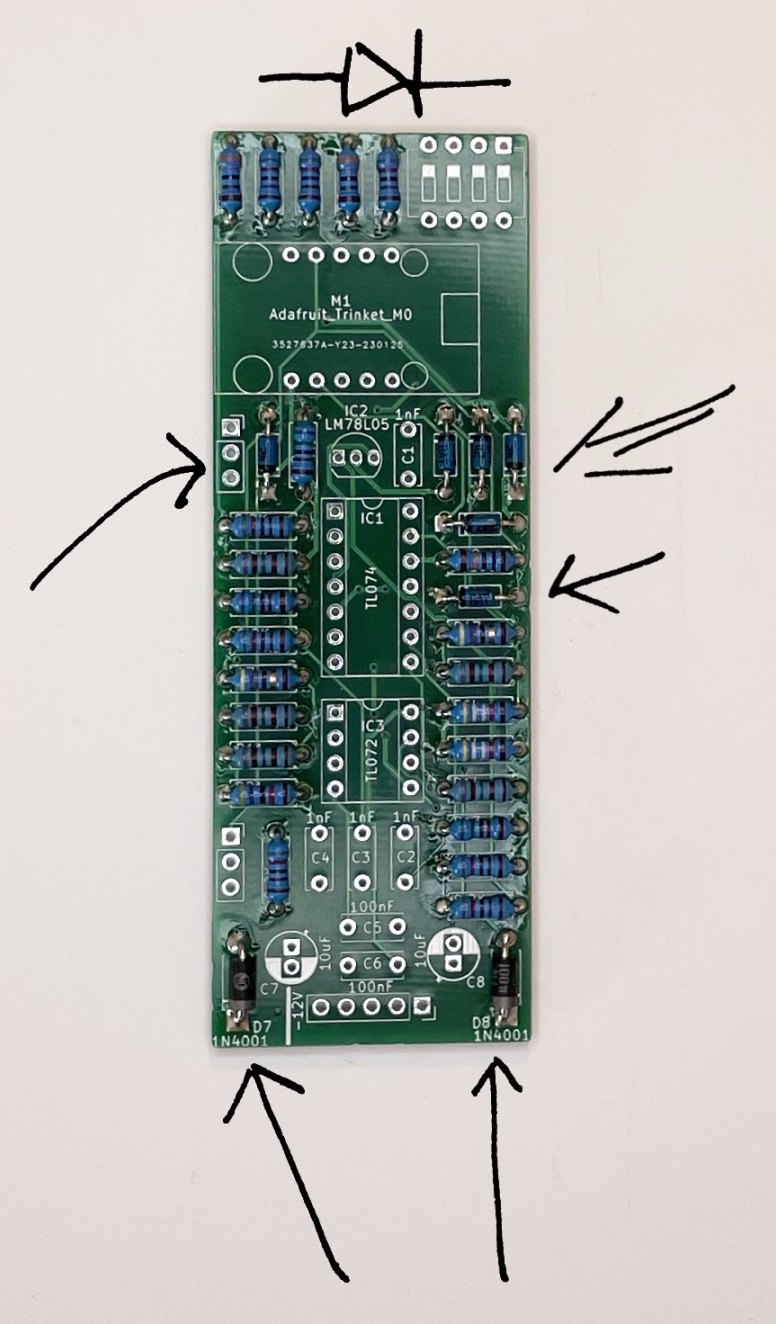
Now solder the four 1 nF (the small black ones with a tiny 102 on them) and the two 100 nF (blue with a 104) capacitors.
After that take the two 10 uF capacitors. They are black, look like a tiny barrel and have two legs of different length. Those capacitores must be placed with the correct polarity too. Just like the diodes.
On the PCB the footprint looks like a circle, half white half dark. The solder pad in the darker half is formed like a square with a little “+” sign near by. Place the capacitors so that the longer leg gos through the this hole (dark, square, “+” sign). The capacitors have a white line on the side with the shorter leg. This line should now be aligned with the white half of the circle.
Solder them when you got them right.
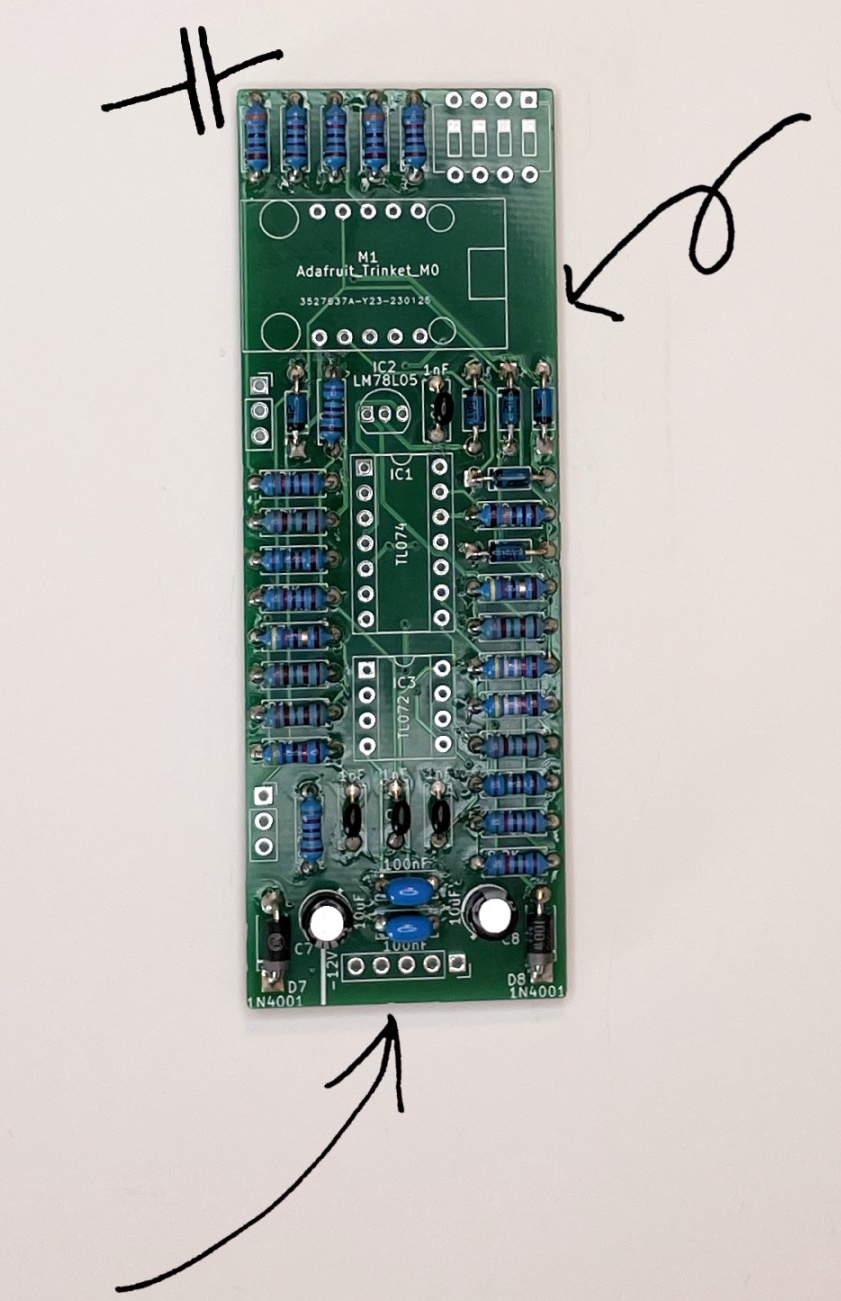
Now would be a good time for a tea or coffee or whatever you like. Take a few minutes before going on with the next bag.
Package B
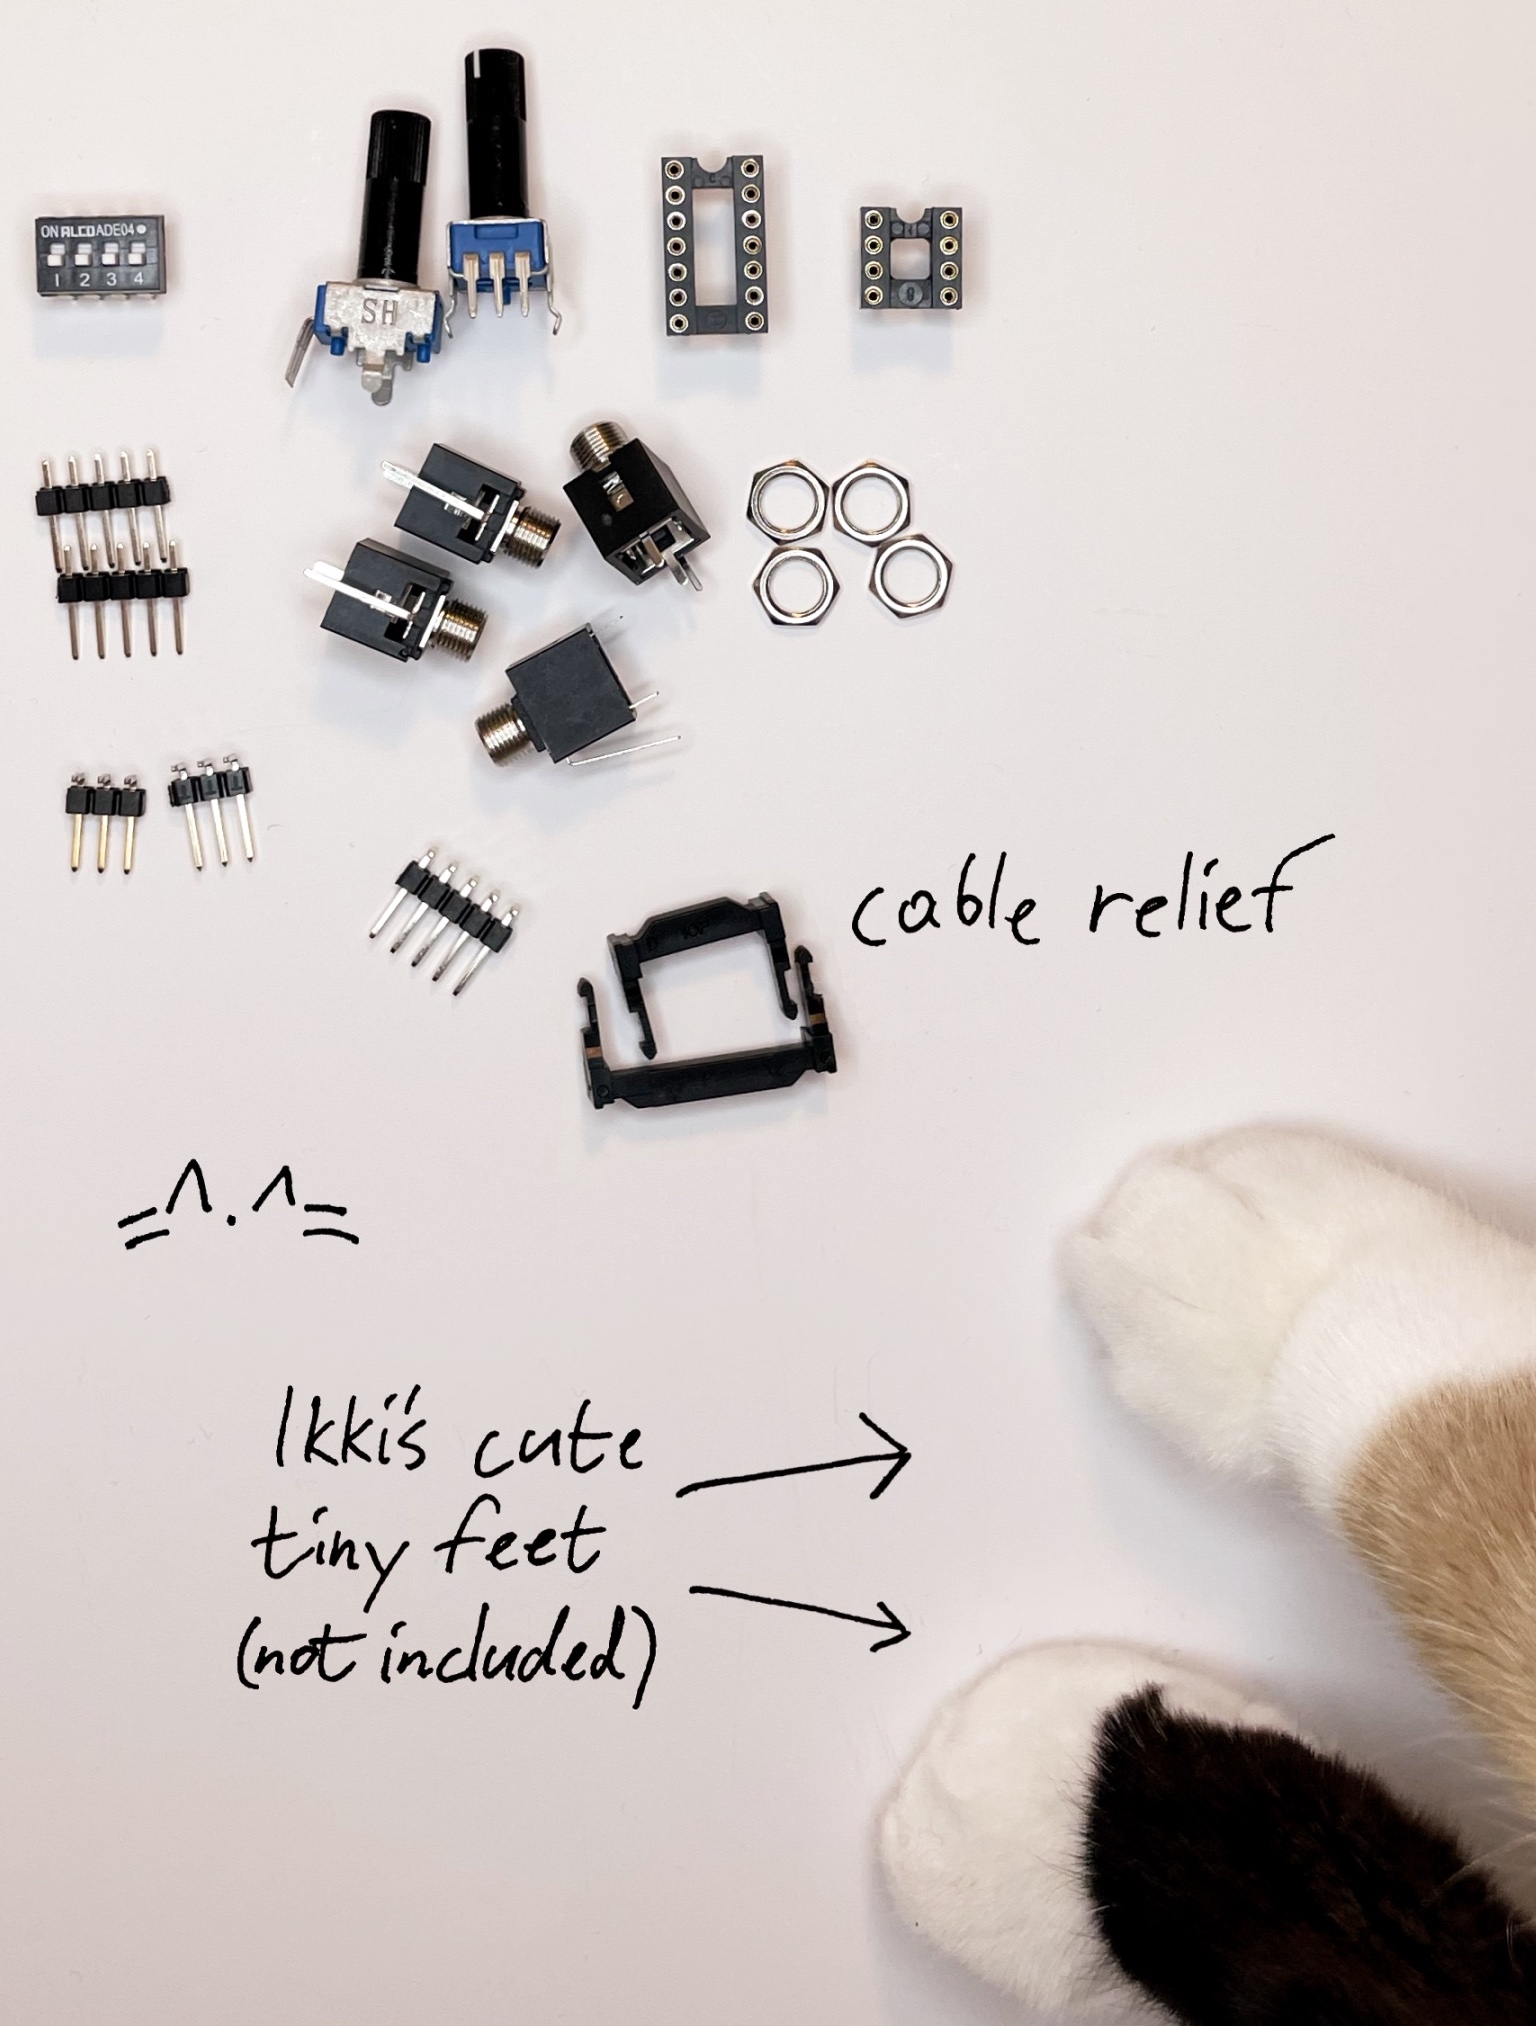
Package B contains:
- 1 x 4 posithions dip switch
- 2 x potentiometers
- 2 x IC sockets
one with 14 pins and on with 8 - 2 x 1x5 pin headers or one with at least 10 pins so that you can breake it up youself
- 4 x 3.5 mm jack sockets + nuts
- 2 x 1x3 pin headers (right angle)
- 1 x 1x5 pin header (right angle)


The pink bubbly one
Troubleshooting and support
If you are having trouble building the kit, take a look at the knowon issues and if that isn’t helping create an issue yourself. Please label your issue with the “build support” and the label of your pocketknife circuit boards version (for instance “hw_v0.4”)
Resources
- Bill of materials - BOM (iBOM)
- Build Support
- Adafruit Guide To Excellent Soldering / Alpenglow Industries - How To Solder Episode 1
- Resistor color codes
- https://web.archive.org/web/20140630082236/http://www.jaycar.com/images_uploaded/IDCconnJ.pdf (second clamping strip - page 3)
